Get one-click stablecoin checkout right
Start to One-Click Stablecoin Checkout SDKs with the constraint that matters most in real life: space, timing, budget, skill level, maintenance, or availability. That first constraint should shape the rest of the plan instead of appearing as an afterthought. Keep the first pass simple enough to verify. Compare the main options against the same criteria, remove choices that only work in ideal conditions, and save optional upgrades for later.
The simplest way to use this section is to write down the real constraint first, compare each option against it, and choose the path that still works outside ideal conditions.
Implement a One-Click Stablecoin Checkout SDK
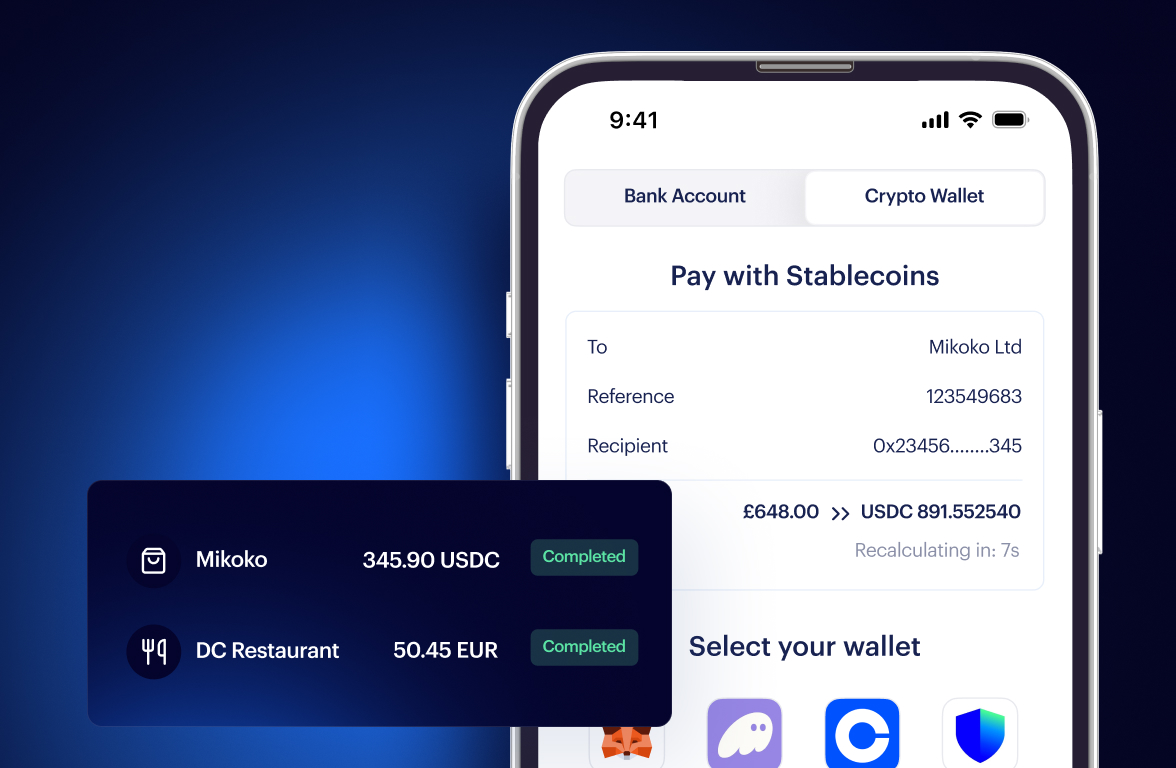
Integrating a stablecoin payment SDK transforms how your platform handles transactions. Instead of manual wallet addresses and complex gas fee calculations, the SDK manages the blockchain interaction behind the scenes. This approach reduces cart abandonment by offering consumers a familiar, one-click payment experience.
The following steps outline the standard integration workflow for enterprise-grade stablecoin checkout solutions. These steps align with current implementations from providers like Checkout.com and Fireblocks, which enable merchants to accept stablecoin payments while settling funds into stablecoin wallets.
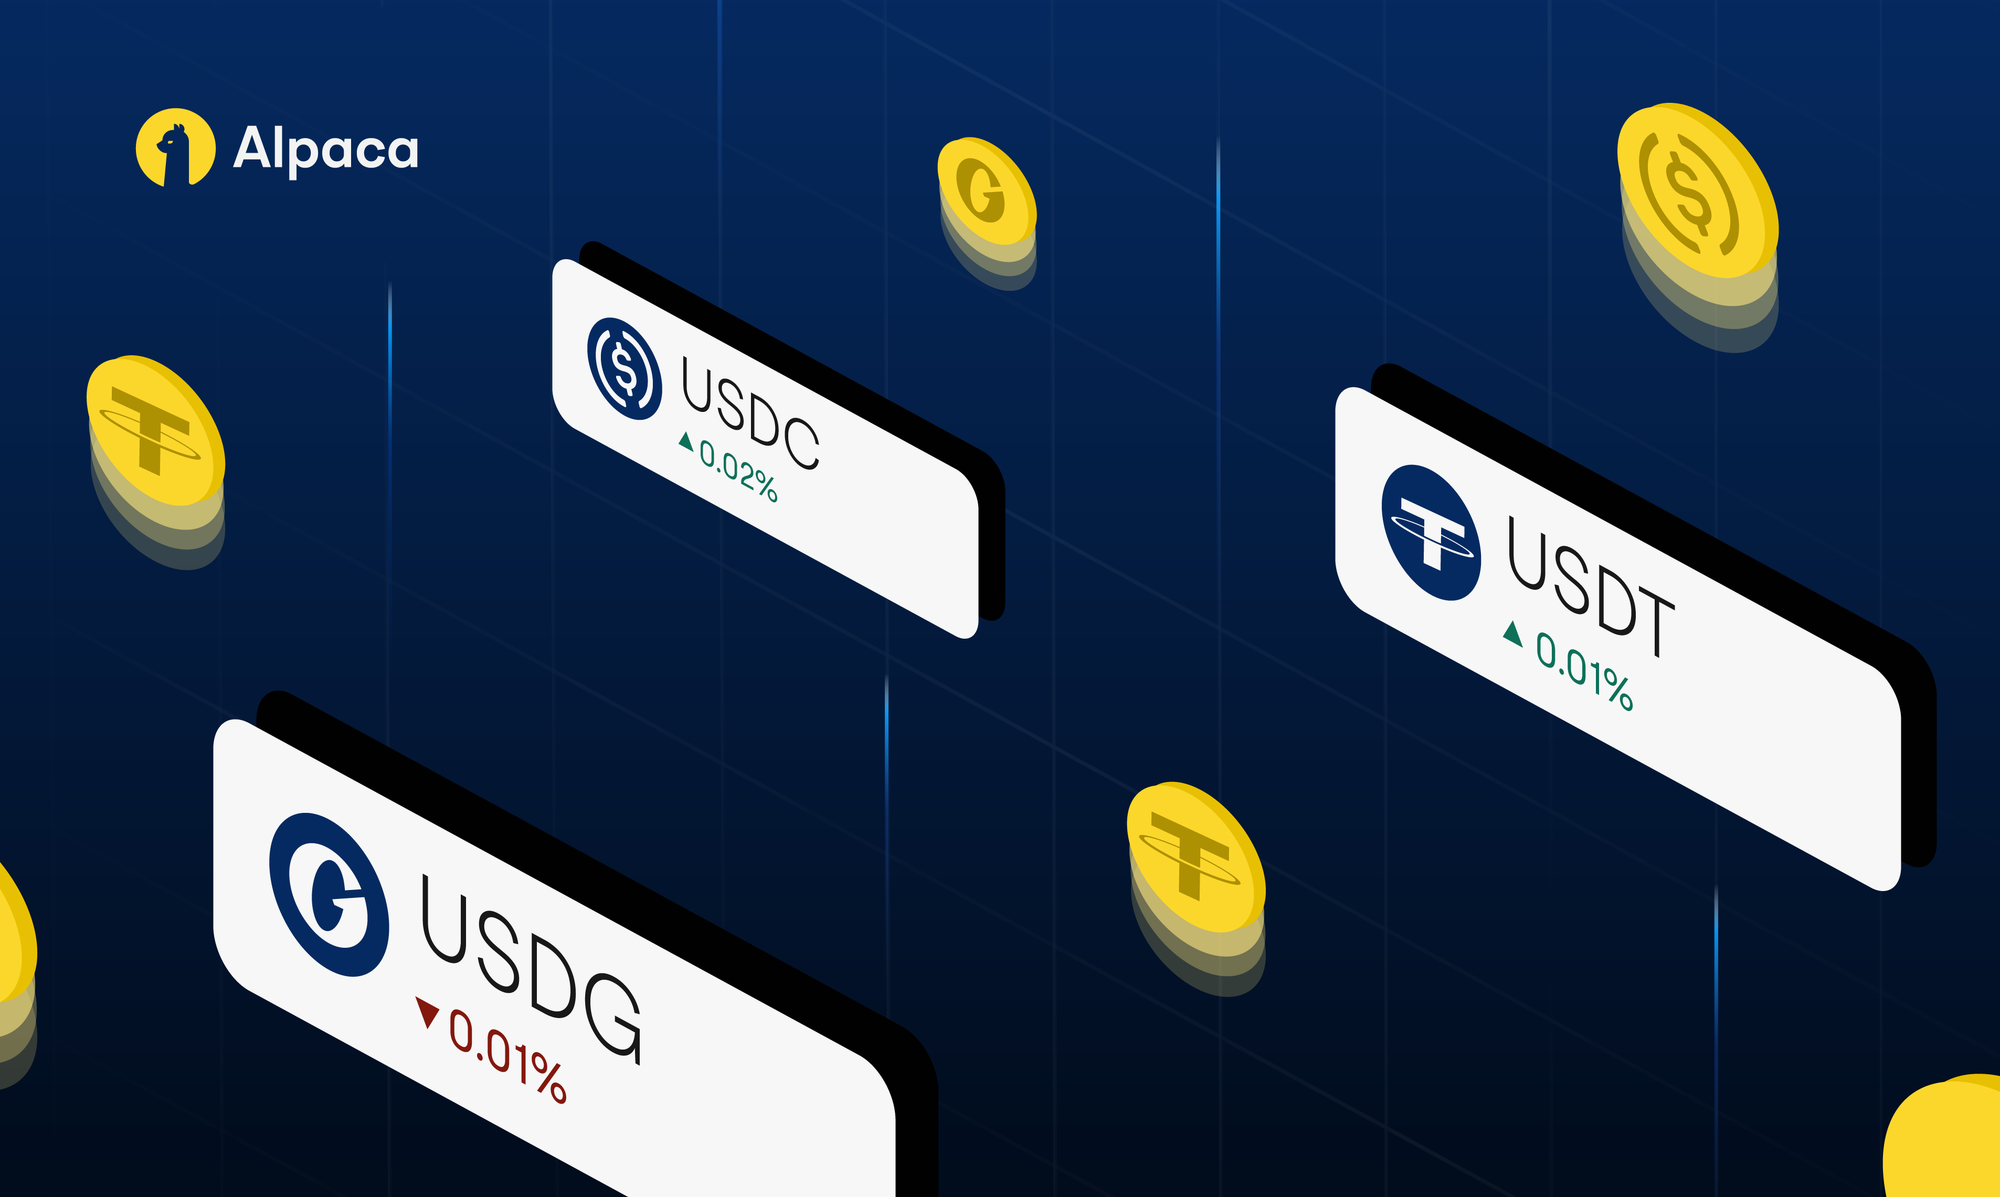
Identify a payment gateway that supports stablecoin acceptance. Major providers like Checkout.com have partnered with infrastructure firms to enable this capability for eligible enterprise merchants. Ensure the gateway supports your target stablecoins, such as USDC or USDT, and offers settlement options that match your treasury needs.
Initialize the SDK in your development environment. Most providers offer libraries for React, Next.js, and standard web frameworks. Generate API keys from your merchant dashboard and configure them in your environment variables. Never hardcode secret keys in your client-side code, as this exposes your account to security risks.
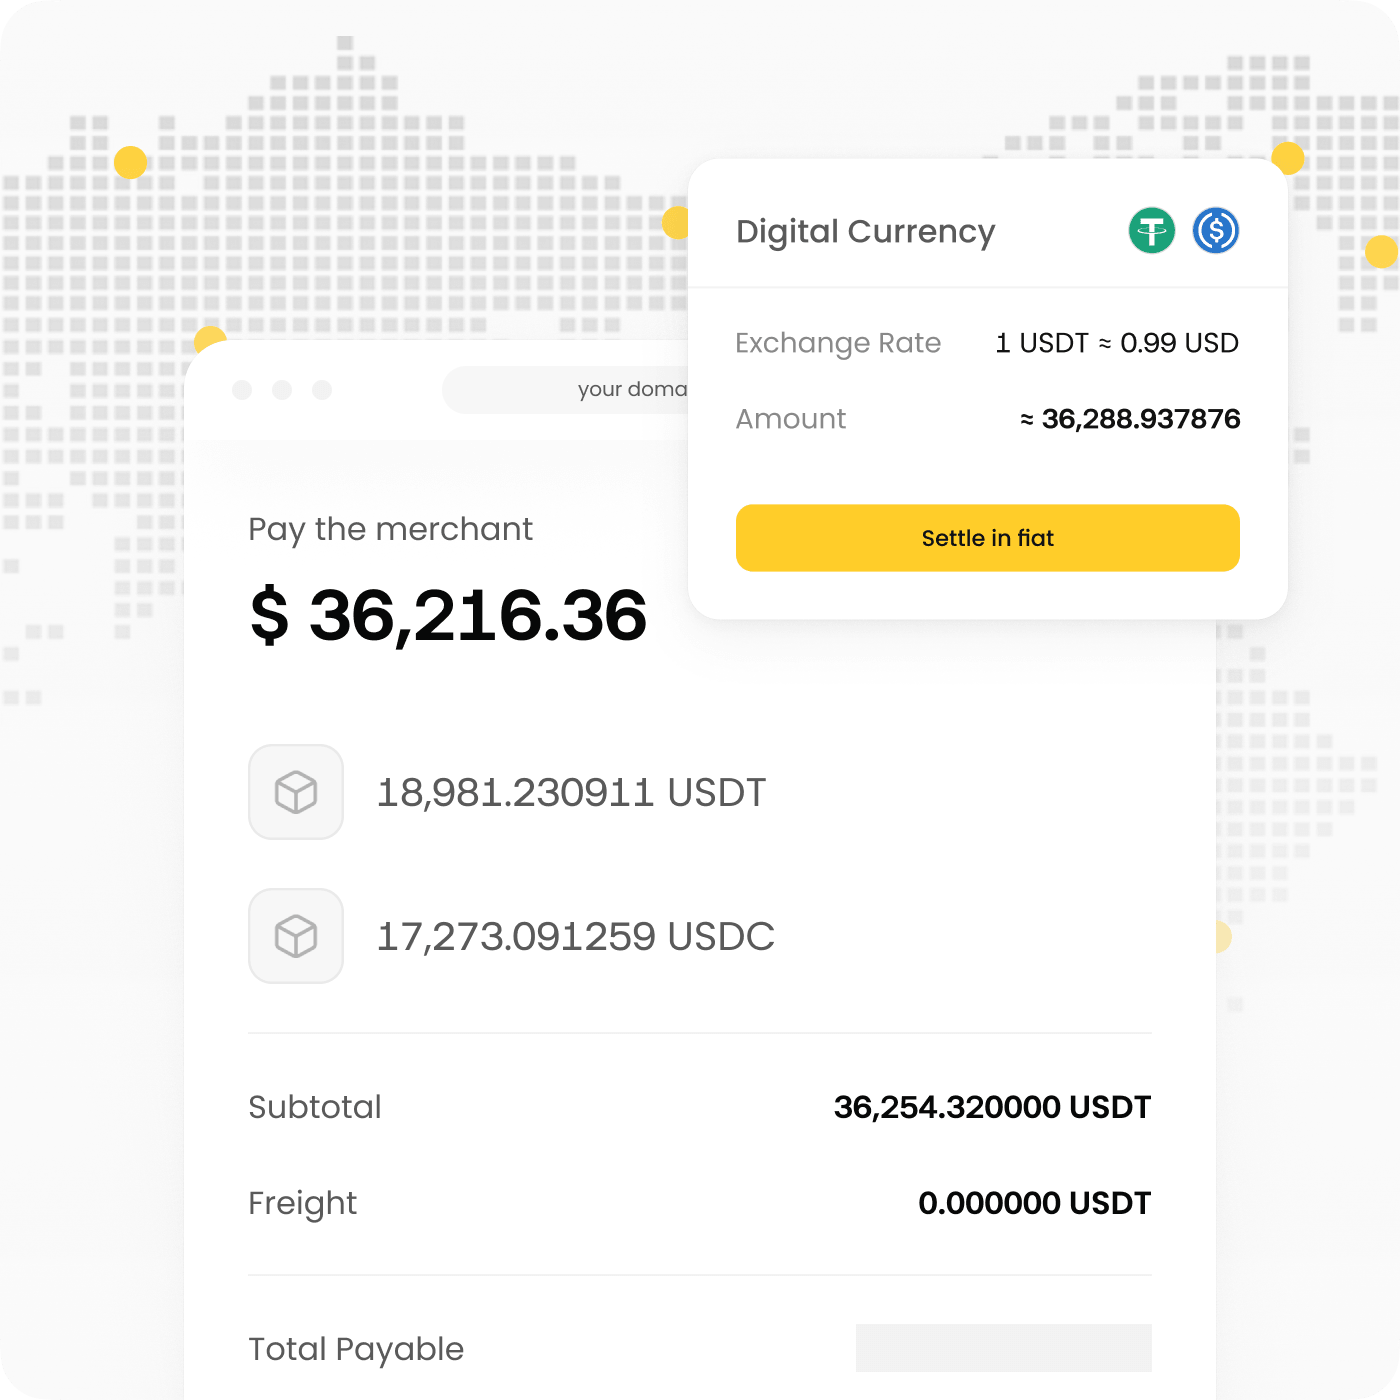
Replace your existing payment form with the stablecoin checkout component. The SDK typically provides a pre-built UI element that handles wallet connection and transaction signing. Configure the component to display the total amount in your preferred currency, allowing the SDK to handle the real-time conversion and blockchain fee estimation automatically.

Before going live, run comprehensive tests using the provider’s sandbox environment. Verify that transactions trigger the correct webhooks when confirmed on the blockchain. Check edge cases, such as network congestion or insufficient gas, to ensure your platform handles errors gracefully without leaving users with pending payments.
Switch your API keys to production mode and deploy the changes. Monitor the first few transactions closely to ensure settlement matches your expectations. Keep an eye on the provider’s dashboard for any network-specific alerts or updates that might affect transaction speed or cost.
-
Verify API keys are set to production mode
-
Test webhook endpoints for transaction confirmation
-
Confirm settlement currency matches treasury goals
-
Check mobile responsiveness of the checkout UI
Verify Transaction Success and Settlement
After integration, confirm that payments are processing correctly. Most stablecoin transactions are nearly instant on Layer 2 networks, but finality can vary by chain. Ensure your backend listens for the "transaction confirmed" webhook before marking an order as paid. This prevents fraud and ensures accurate inventory management.
Fix common mistakes
to One-Click Stablecoin Checkout SDKs troubleshooting should start with a clear boundary: what is actually broken, and what still works normally. Check the display, network connection, paired devices, app access, and recent updates before assuming the whole system needs a reset. A small connection failure can make the main screen feel unreliable even when the core system is fine. Work from low-risk checks to deeper resets. Confirm power state, safe parking, account access, and signal first. Then restart the interface, wait for it to reload completely, and test the original symptom. Avoid changing multiple settings at once because that makes it harder to know which step actually fixed the problem. If the issue affects safety information, repeats after every restart, or appears with warning messages, treat the reset as a temporary diagnostic step rather than the final fix. Document the symptom and move to official support instead of stacking more DIY attempts.
The simplest way to use this section is to keep the setup small, verify each change, and record the stable configuration before adding optional accessories.
One-Click Stablecoin Checkout FAQs
These answers address the most common operational questions for merchants and shoppers adopting stablecoin payments.
No comments yet. Be the first to share your thoughts!