
Choose a compliant payment processor
Select a regulated payment gateway that supports stablecoin settlement. Your processor acts as the bridge between your traditional banking infrastructure and the blockchain. In 2026, regulatory alignment is not optional; it is the foundation of a viable checkout system. You need a partner that understands MiCA in Europe and the emerging GENIUS Act frameworks in the US.
When evaluating vendors, look for explicit support of USDC and USDT settlement. The processor should offer automatic fiat conversion or stablecoin-to-fiat settlement options to protect your margins from volatility. Additionally, ensure the provider has partnerships with licensed custodians. This structure keeps your funds secure and auditable.
Checkout.com has integrated with Fireblocks to enable secure stablecoin payments for enterprise merchants, allowing settlement in USDC. This partnership provides a clear path for merchants who want to accept crypto without holding the assets themselves. Visa is also expanding its Stablecoin Platform, allowing users to store and access stablecoins directly within its network, signaling a shift toward institutional adoption.
Verify that your chosen processor offers robust API documentation for one-click checkout integration. The technology must handle the conversion from fiat to stablecoin at the point of sale seamlessly. If the processor requires manual intervention for every transaction, you lose the speed advantage of blockchain payments. Choose a provider that automates the compliance checks and settlement routing.
Integrate the SDK and configure webhooks
Embedding a stablecoin checkout SDK is the bridge between your frontend and the blockchain. This section covers the technical sequence for installing the library, securing API credentials, and configuring webhooks to confirm transaction finality.
1. Install the SDK package
Begin by adding the provider’s SDK to your project dependencies. Most modern providers offer packages for React, Next.js, or vanilla JavaScript. For example, Blockradar Checkout allows you to accept stablecoin payments via shareable links without requiring complex account integrations, simplifying the initial setup docs.blockradar.co/en/use-cases/checkout.
Install the package via your preferred package manager:
npm install @blockradar/checkout-sdk
Import the module in your main application entry point or payment component. Ensure you are using the version compatible with your framework’s current release cycle to avoid peer dependency conflicts.
2. Configure environment variables
Never hardcode API keys. Create a .env file in your project root and store your Publishable Key (frontend) and Secret Key (backend). The publishable key is safe to expose in the browser, but the secret key must remain on your server.
Initialize the SDK with your publishable key:
import { initializeStablecoinSDK } from '@blockradar/checkout-sdk';

const sdk = initializeStablecoinSDK({
  apiKey: process.env.NEXT_PUBLIC_STABLECOIN_API_KEY,
  currency: 'USDC',
  network: 'polygon'
});
Verify that your environment variables are loaded correctly by logging a test connection to the provider’s sandbox network. This prevents accidental mainnet transactions during development.
3. Implement the checkout flow
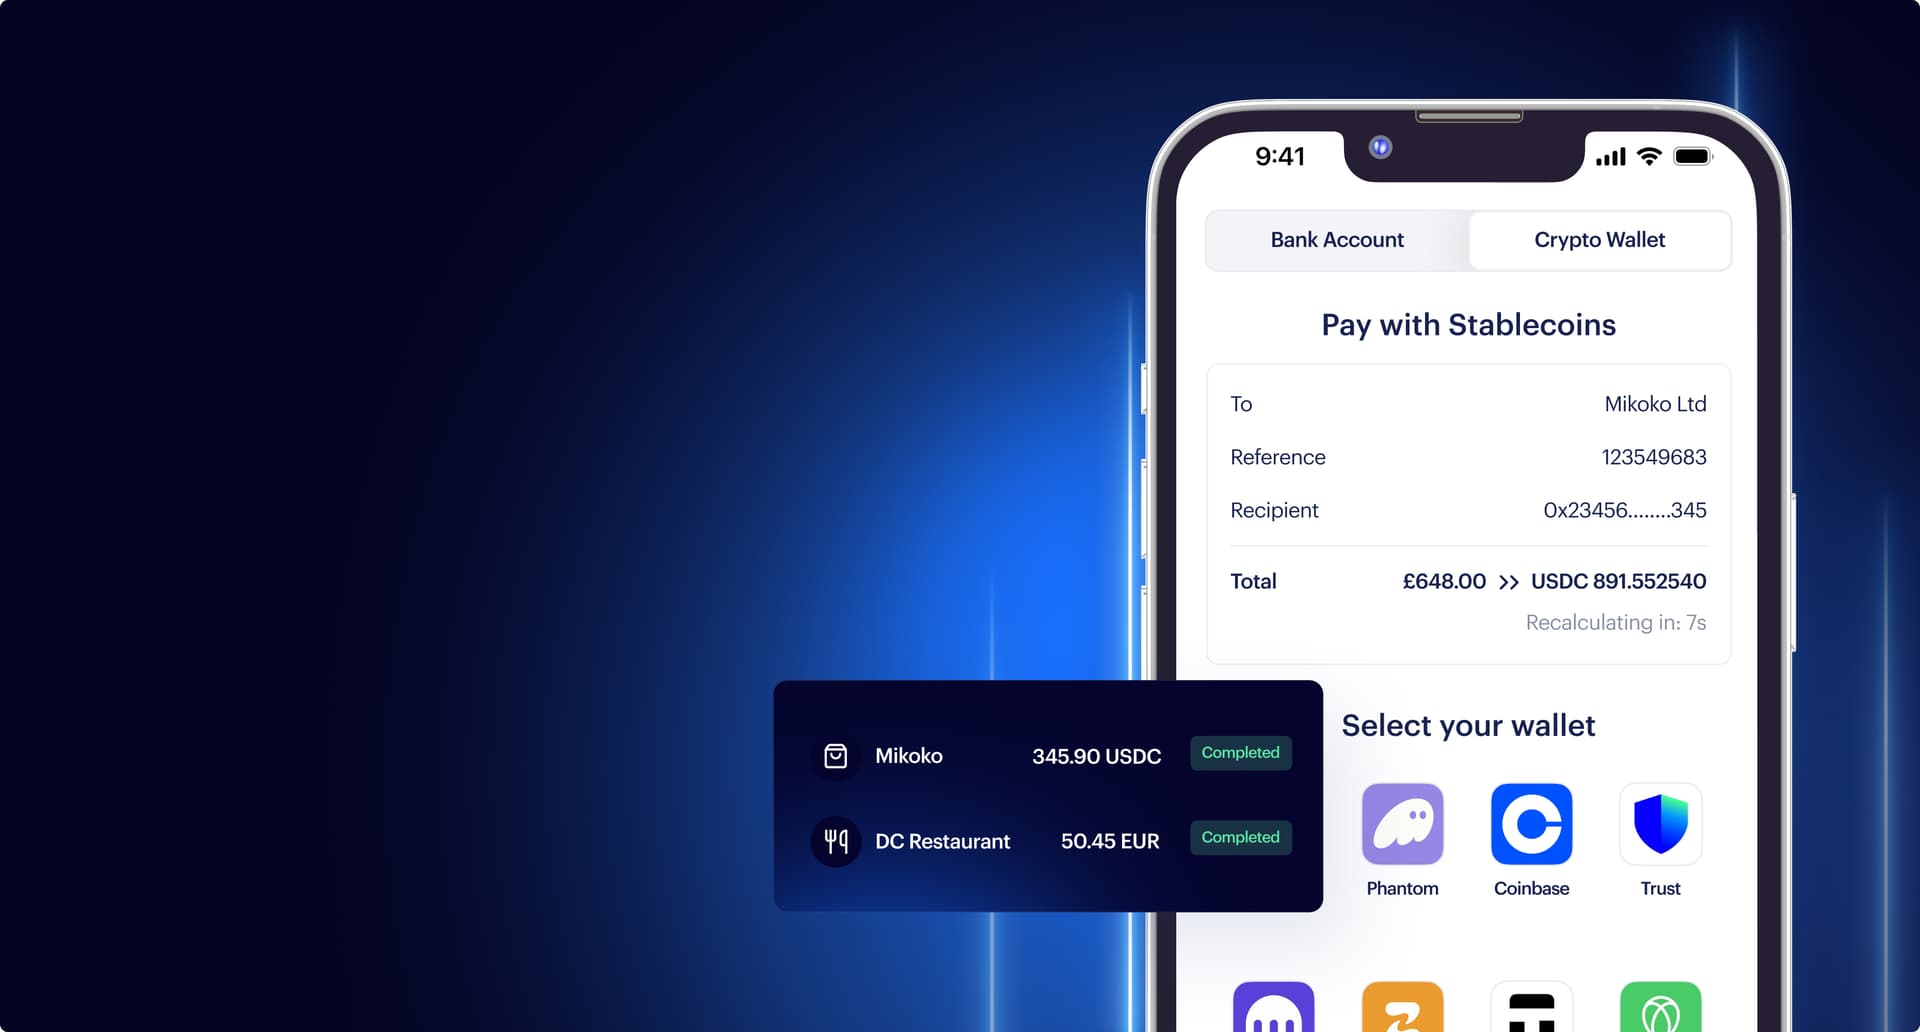
Create a UI component that triggers the SDK’s checkout modal or redirect. The SDK handles the complex logic of wallet detection, gas estimation, and transaction signing. Users simply confirm the payment in their wallet, and the SDK returns a promise that resolves upon transaction submission.
async function handlePayment() {
  try {
    const result = await sdk.createCheckout({
      amount: '10.00',
      currency: 'USDC',
      metadata: { orderId: '12345' }
    });
    // Redirect or open modal using result.url or result.modalId
  } catch (error) {
    console.error('Checkout failed:', error);
  }
}
4. Set up webhooks for finality
API responses from the SDK often confirm submission, not finality. To prevent order fulfillment before the blockchain confirms the transaction, you must configure a webhook endpoint on your backend. The provider will POST a payload to this URL when the transaction reaches the required number of block confirmations.
Your endpoint should:
- Verify the webhook signature to ensure it originated from the provider.
- Parse the payload to extract the transaction hash and status.
- Update your database order status to "Paid" only when the status is
confirmed.
Use a queueing system (like Redis or RabbitMQ) to handle webhook retries. Network issues or provider downtime can cause failed deliveries, so your system must be idempotent to avoid double-processing payments.
5. Test with sandbox credentials
Before going live, switch your API keys to the provider’s sandbox mode. Use testnet tokens (e.g., Sepolia ETH or Polygon Mumbai) to simulate user payments. Verify that your webhook endpoint receives the confirmed event and correctly updates your internal records.
Once the test flow is stable, replace the sandbox keys with your production credentials. Monitor the first few live transactions closely to ensure the webhook latency matches your expected finality time.
Handle USDC price stability and settlement
The "checkout problem" isn't about blockchain latency; it's about ensuring the merchant receives stable value. If a customer pays in USDC, you must decide whether to hold the digital asset or convert it to fiat immediately. This decision dictates your risk exposure and settlement timeline.
Choose direct settlement or instant conversion
Direct settlement keeps the payment in USDC on your balance sheet. This option eliminates conversion fees and allows you to hold the asset if you believe in its long-term utility. However, it exposes you to regulatory uncertainty and the technical burden of managing crypto wallets. Use this path if you already have a treasury strategy for digital assets.
Instant fiat conversion transfers the risk to a payment gateway or processor. The gateway accepts the USDC and deposits USD into your bank account, usually within minutes. This mimics the predictability of traditional card processing. Most merchants prefer this route to avoid volatility and compliance overhead.
Verify settlement speed and fees
When using a gateway for fiat conversion, check the settlement speed. Some providers offer "instant" payouts, while others settle T+1 or T+2. For one-click checkout, speed matters. A delay in settlement can disrupt cash flow if you rely on those funds for inventory or operations.
Review the fee structure carefully. Payment gateways typically charge a percentage per transaction, often between 0.6% and 2.9%, plus a fixed fee. Compare this against the cost of holding USDC, which is near zero but carries operational complexity. The "checkout problem" is solved when the merchant's net revenue is predictable, regardless of the underlying rail.
Test the transaction flow end-to-end
Implement One-Click Stablecoin Checkout works best as a clear sequence: define the constraint, compare the realistic options, test the tradeoff, and choose the path with the fewest hidden costs. That order keeps the advice usable instead of decorative. After each step, pause long enough to check whether the recommendation still fits the reader's actual situation. If it depends on perfect timing, unusual access, or a best-case budget, include a simpler fallback.

Frequently asked questions about stablecoin checkout
Implementing one-click stablecoin checkout raises specific technical and regulatory questions. Below are answers to the most common concerns merchants face when adopting this payment method.
No comments yet. Be the first to share your thoughts!